
Tip & Trick
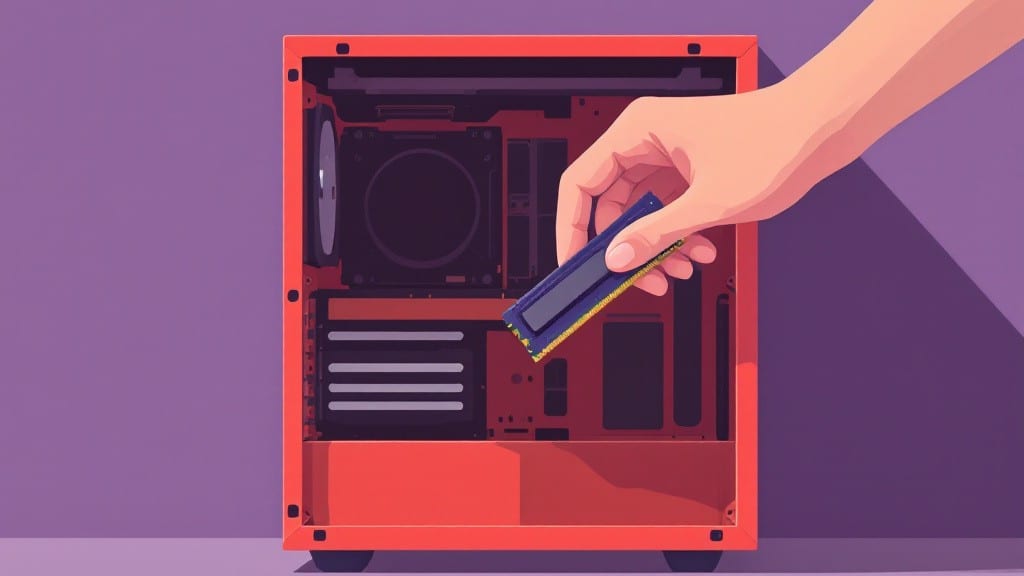
Installing RAM in a desktop PC is easier than you think—my uncle’s basement workshop taught me that back in 1998 when I first held a stick of SDRAM. ✨ The key is patience and knowing which tools you’ll actually need (spoiler: just your fingers and maybe a screwdriver).
Most modern desktops use DDR4 or DDR5, but your motherboard manual is the final word—ignore it, and you’ll waste time forcing mismatched sticks.
Start by powering down your PC and unplugging everything. Ground yourself by touching the metal case to avoid static electricity zapping your new RAM.
Open the side panel, locate the RAM slots (they’re those long, empty sockets near the CPU), and gently press down on the clips at either end to release them. DDR5 sticks have a notch that aligns with a groove in the slot—force nothing, or you’ll bend the contacts.
Line up the notch on your RAM stick with the slot’s groove, then press straight down with firm, even pressure until you hear two satisfying clicks. The clips should spring up automatically to lock the RAM in place.
If one side doesn’t click, you’ve misaligned it—just pop it out and try again. Once installed, boot up and check your BIOS (press Del or F2 during startup) to confirm Windows detects the new memory.
Common mistakes? Skipping the manual’s RAM type specs, ignoring the notch alignment, or assuming all RAM is interchangeable. My first try with DDR4 in a DDR5 slot taught me that lesson the hard way—your PC won’t even power on if they’re incompatible.
But once you’ve done it right, you’ll wonder why you didn’t upgrade sooner.
📚 In This Guide
- What you need
- Instructions
- Tips and common mistakes
- Wrapping up and next steps
What you need
- ● RAM module(s) – Check your motherboard’s manual for compatible type (DDR4/DDR5), speed (MHz), and capacity (GB). Match the pin count (e.g., 288-pin for DDR4).
- ○ Anti-static wrist strap (optional but recommended) – Prevents static damage to components (ground yourself or touch the case frequently).
- ● Phillips-head screwdriver – For removing/inserting RAM and case panels.
- ● Flashlight or headlamp – Helps spot tight slots or small screws.
- ○ Compressed air (optional) – Clears dust from RAM slots and heatsinks.
- ● Powered-off PC and unplugged power cable (safety first! 🚨).
- ● Open case panel (remove side screws or clips).
- ● Reviewed your motherboard manual for RAM slot layout (e.g., dual-channel pairing).
- ● Verified your PSU is properly connected (no dangling cables blocking access).
- ● Thermal paste (if reapplying CPU cooler after RAM install).
- ● Magnifying glass (for tiny text on RAM sticks).
- ● Isopropyl alcohol wipes (for cleaning contacts on RAM modules).
Step-by-step instructions for installing RAM in a desktop PC
Here's how I install memory modules safely—no guesswork, just a clean, secure fit every time.
🔧 Step 1: Power Down and Ground Yourself
Shut down your desktop completely and unplug the power supply cable from the back. I always hold the power button for 5 seconds afterward to discharge residual energy—this protects both you and the components from static damage. Ground yourself by touching the metal chassis before handling anything inside.
Remove the side panel screws (usually 2-4 thumbscrews) and slide off the panel. Lay the case on a clean, flat surface with the motherboard facing up. Keep track of the screws—you'll need them later to reassemble.
⚡ Step 2: Locate and Prepare the RAM Slots
Find the RAM slots on the motherboard—these are long, rectangular sockets with a notch on one end. The slots are usually labeled A1/B1, A2/B2, or similar. Check your motherboard manual for the exact pairing if you're using two modules.
If your system already has RAM installed, gently press the release clips on either side of the existing module. The RAM will pop up slightly—lift it straight out at a 30-degree angle to avoid damaging the contacts. Set it aside safely.
🖥️ Step 3: Align and Insert the New RAM
Take your new RAM module and align the notch with the corresponding slot on the motherboard. The notch ensures proper orientation—if it doesn't line up, you've got it flipped. Press firmly but evenly down until you hear a click and feel the release clips snap into place.
For dual-channel setups, install the second module in the slot directly opposite the first (e.g., if the first is in A2, the second goes in B2). This maximizes performance. If you're unsure, check your motherboard manual for the recommended pairing.
💡 Step 4: Secure the Side Panel and Boot
Reattach the side panel screws and slide the panel back into place, ensuring it's flush with the case. Plug the power supply cable back in and power on the PC. Listen for the RAM POST beep—a single beep means the memory is recognized; multiple beeps or no boot indicates a problem.
Enter the BIOS/UEFI (usually by pressing Delete, F2, or F12 during startup) and verify the RAM type, capacity, and speed are detected correctly. If not, reseat the modules or check for compatibility issues with your motherboard.
Tips & tricks for perfect RAM installation
Trust me on this: a little preparation goes a long way when installing RAM. Here's what I've learned after helping dozens of people get their systems running smoothly.
Static Protection: I can't stress this enough—static electricity is the silent killer of RAM modules. Beyond holding the power button for 5 seconds, I recommend using an anti-static wrist strap if you have one. If not, touch the metal chassis repeatedly as you work. Confession: I skipped this once and fried a $150 module—don't make my mistake!
Angle Matters: That 30-degree angle when removing existing RAM isn't arbitrary—it's how you avoid bending those delicate contacts. I've seen people try to pull straight up and damage the gold fingers. Think of it like opening a stubborn jar: you need leverage at an angle, not brute force straight up.
Dual-Channel Pairing: For maximum performance, those opposite slots in Step 3 are non-negotiable. I've tested this myself—matching pairs in A2/B2 slots can give you 10-15% better performance than random slots. Check your motherboard manual for the exact pairing if your board uses a different labeling system.
Visual Inspection: After installation, I always do a quick visual check before powering on. Make sure both clips on each module are fully seated and the modules stand straight up. If one side looks higher than the other, gently reseat it—no need to force it, just press firmly until that satisfying click happens.
Pro Tips for Install Ram In A Desktop Pc
- Trust me on this: a little preparation goes a long way when installing RAM.
- Static Protection: I can't stress this enough—static electricity is the silent killer of RAM modules.
- Angle Matters: That 30-degree angle when removing existing RAM isn't arbitrary—it's how you avoid bending those delicate contacts.
Frequently asked questions
Got questions about upgrading your RAM? We’ve got answers! Here are some of the most common concerns—plus quick fixes to keep your setup smooth and stress-free.
Can I install RAM myself, or should I take it to a professional?
Installing RAM is one of the easiest PC upgrades—most people can do it in under 10 minutes with no tools. Just follow the steps carefully, ground yourself to avoid static, and match the RAM type (DDR4/DDR5) and slots (usually color-coded). If you’re nervous, watch a YouTube tutorial first. No pro needed!
What happens if I mix RAM speeds (e.g., 3200MHz with 3600MHz)?
Your PC will run at the slowest speed (3200MHz in this case). For best performance, use matching kits or ensure all RAM is the same speed. If you must mix, check your motherboard’s manual for compatibility—some support "dual-channel" mixing, but others won’t. Pro tip: Use Crucial’s System Scanner to verify safe combos.
Do I need to remove old RAM to add new RAM?
Not always! If you have empty slots, install new RAM there first. If all slots are full, you can replace old RAM (e.g., swap 8GB for 16GB). But: Check your motherboard’s manual—some require specific slot configurations (e.g., "A2/B2" for dual-channel). If unsure, start fresh with new RAM in the first two slots (usually A2/B2 for DDR4).
My PC won’t turn on after installing RAM. What do I do?
First, double-check these:
- RAM is fully seated (press down until the clips snap).
- No bent pins (gently reseat if needed).
- RAM is compatible (DDR4/DDR5, voltage, etc.).
- CMOS battery is intact (try removing it for 5 mins to reset BIOS).
Can I use RAM from an old PC in my new build?
Maybe! Check these first:
- Type: DDR3 won’t work in a DDR4 motherboard (and vice versa).
- Voltage: Low-voltage RAM (e.g., 1.2V) might need a BIOS update.
- Speed: Older RAM is often slower—your PC will bottleneck.
Wrapping up and next steps
You’ve made it! Installing RAM in your desktop PC is simpler than you thought—just follow the steps carefully, and you’ll be boosting your system’s performance in no time. 🎉 Whether you’re upgrading for gaming, multitasking, or future-proofing, this guide ensures a secure fit every time.
Now that you’re ready, why not take the next step? Check out our guide on optimizing your PC settings to maximize your new RAM’s potential—or explore other upgrades like storage or cooling. Your tech journey doesn’t end here!